Build Your Own Rainwater Filter
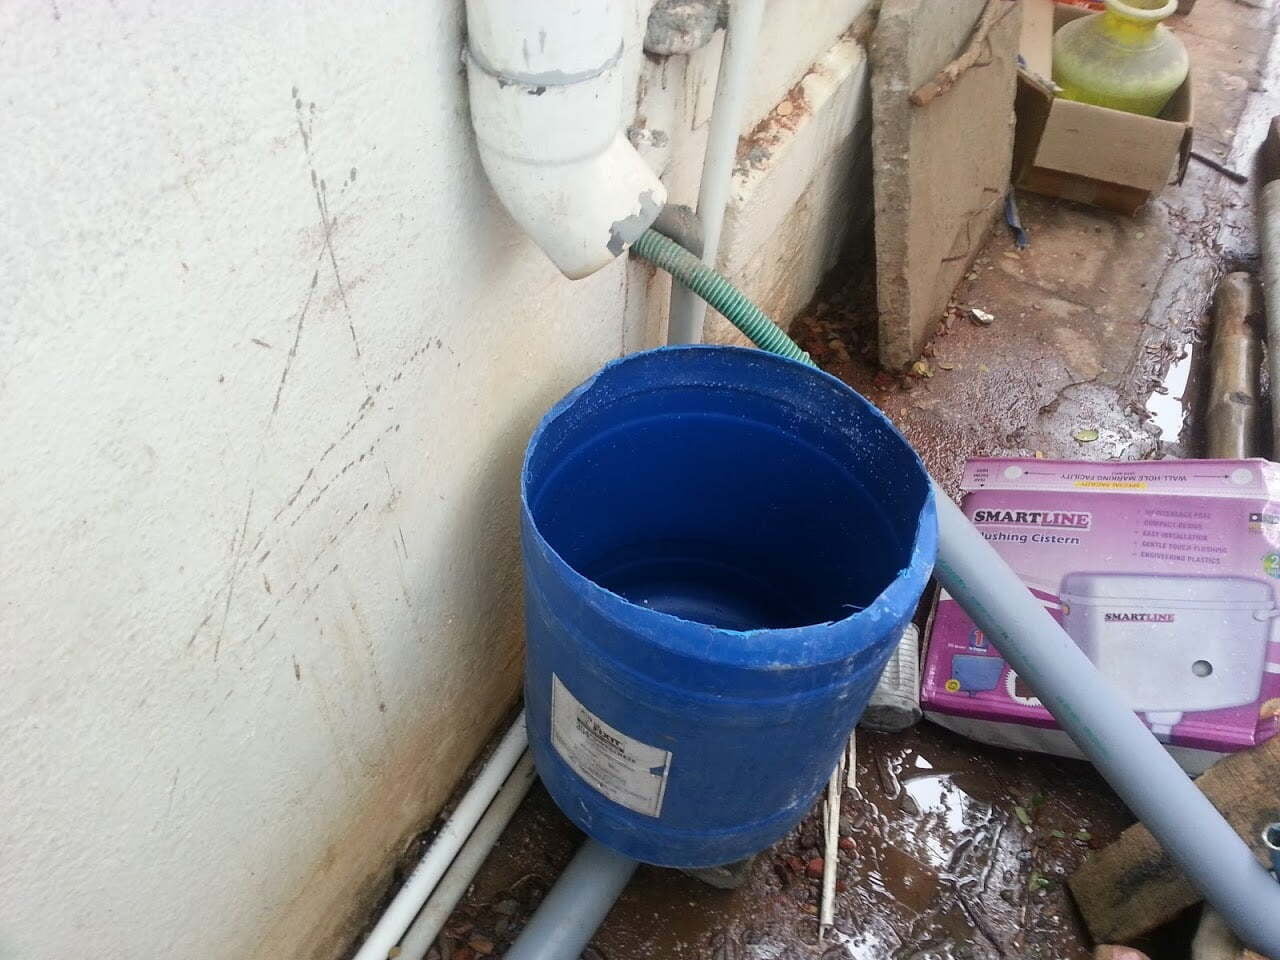
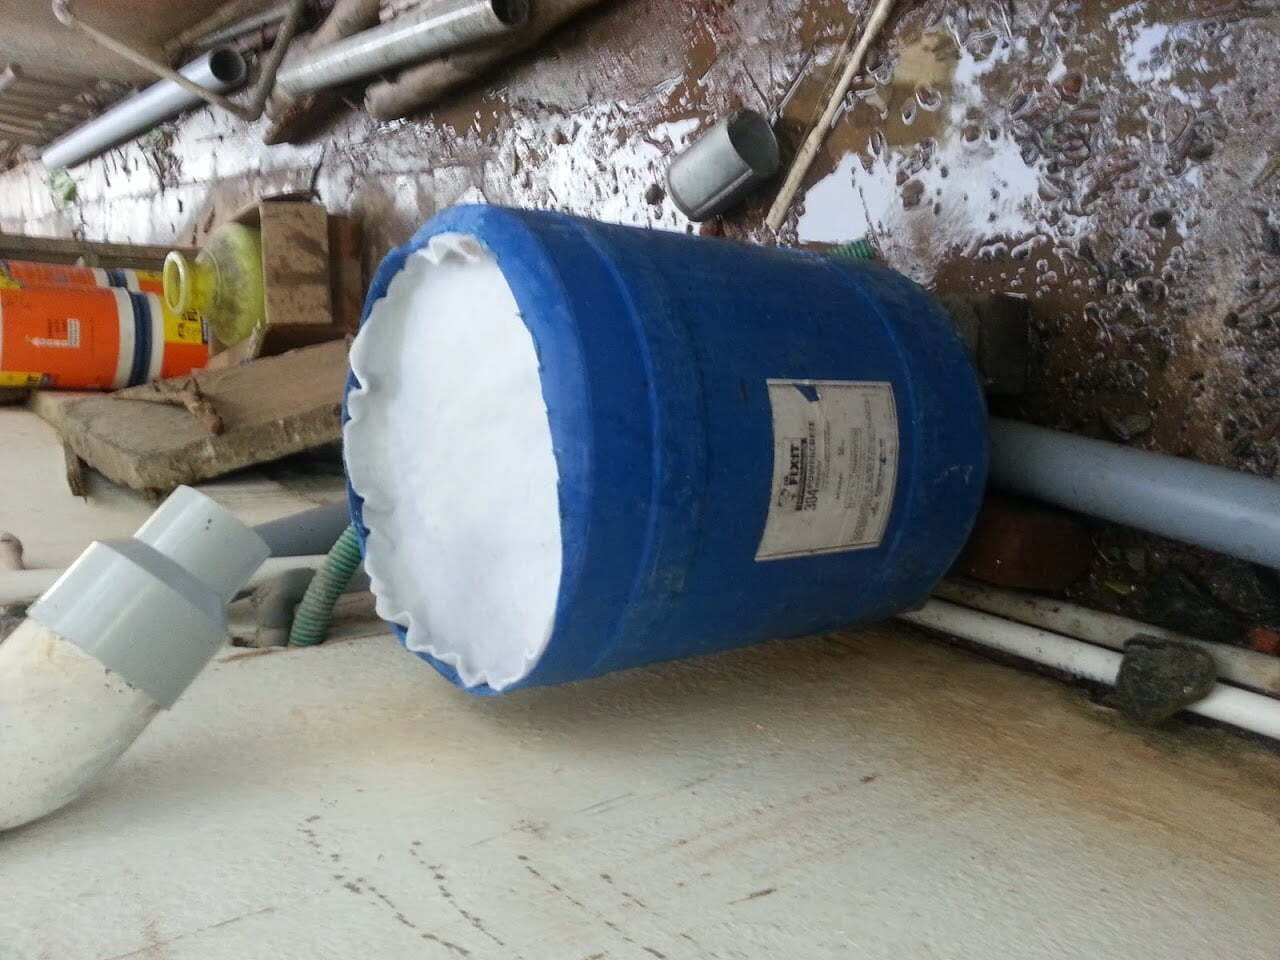
The bigger the barrel, more filtration medium can be added and hence a better quality output. At the same time bigger barrels are harder to manoeuvre and more tedious to maintain. The maximum capacity of a barrel filter should be no more that 250 litres and the minimum capacity should be 50 litres. We have used a 50 litre barrel at our office. Fix a drainpipe such that water is drawn at least 4 inches above the bottom. This allows sediment to settle down at the bottom and also creates a bio-layer around the aggregates at the bottom that removes the pathogens and any traces of nutrient in the water
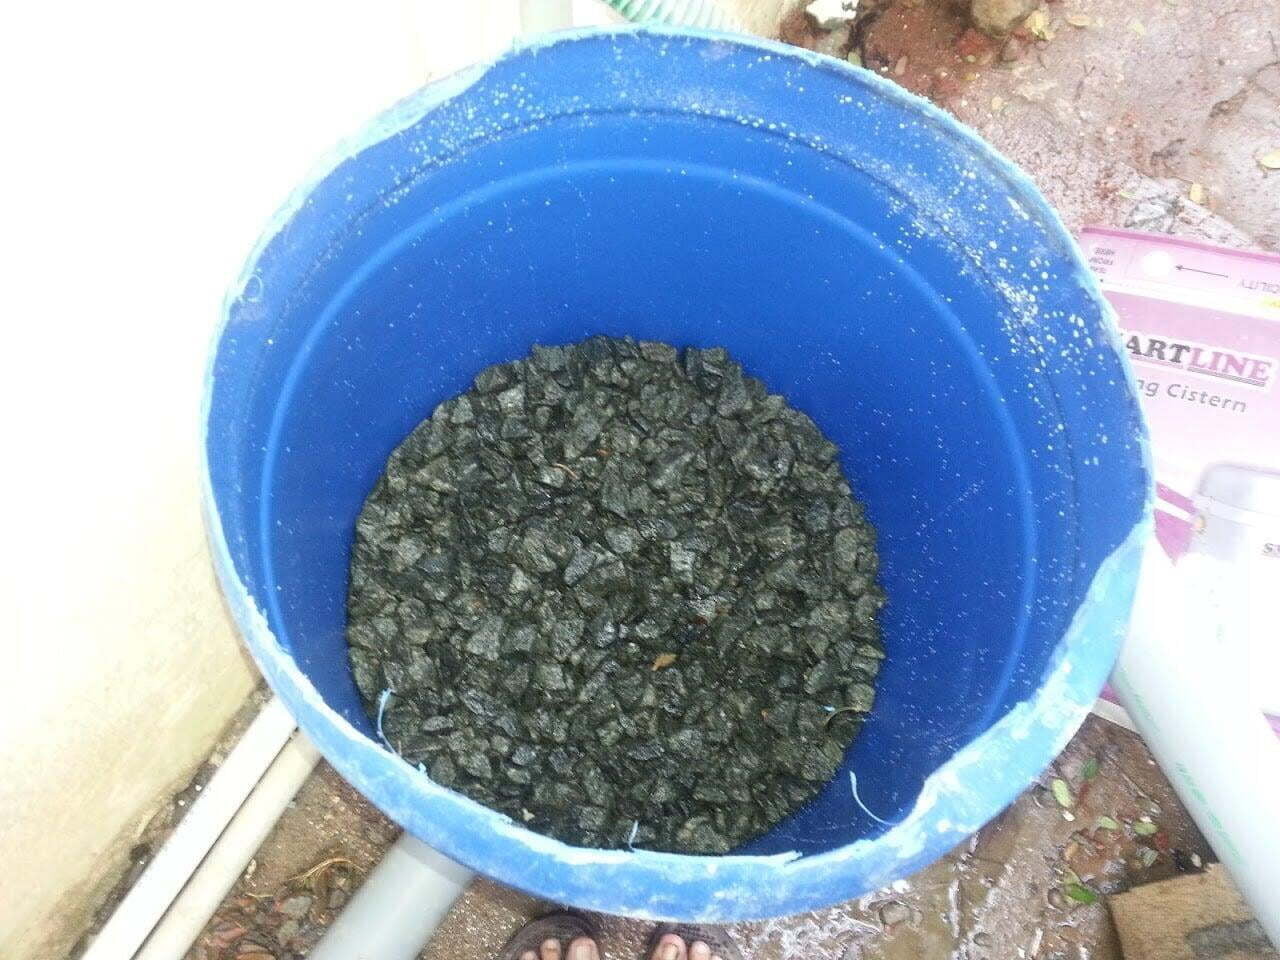
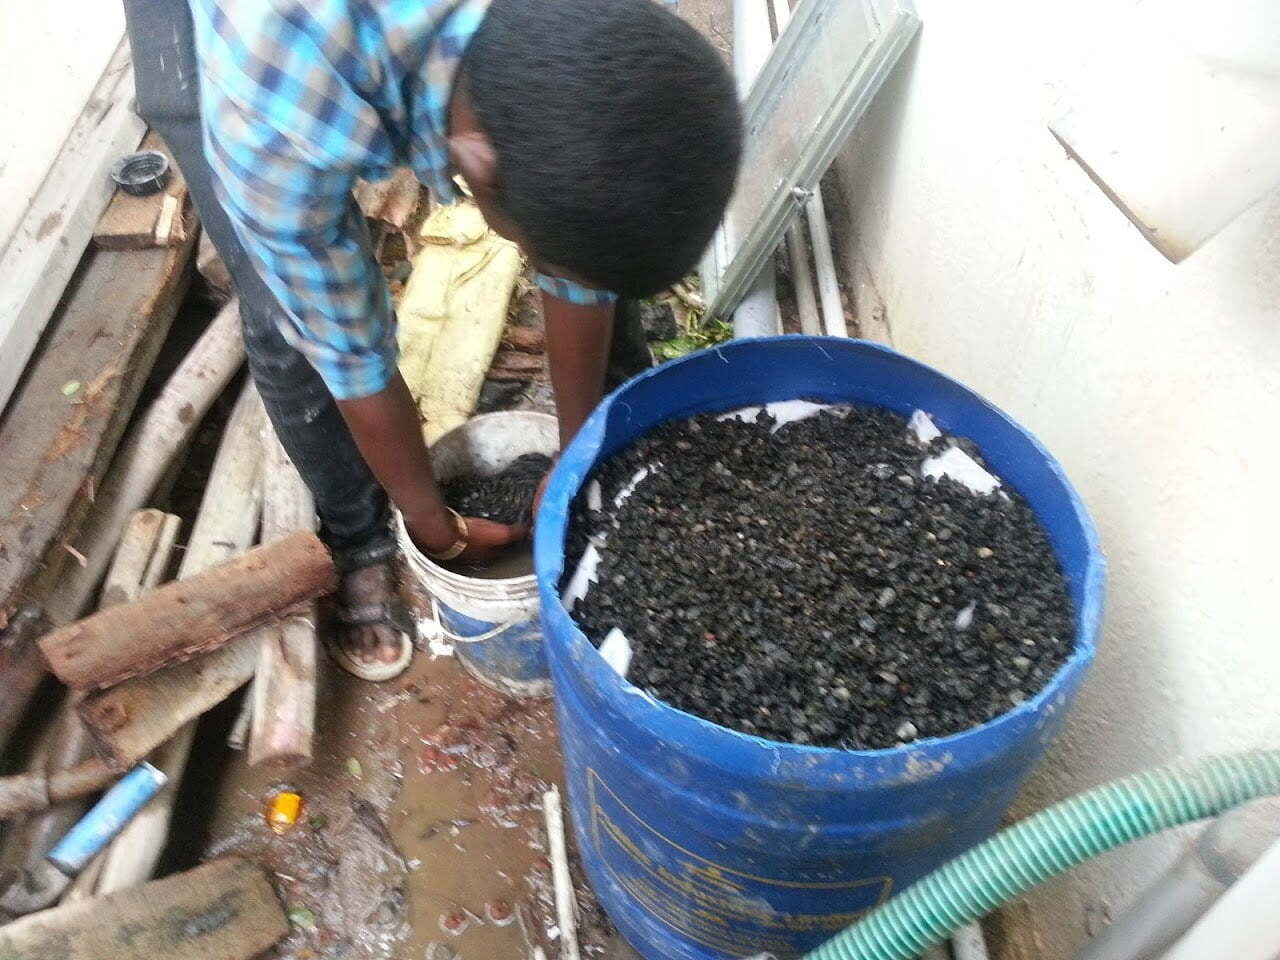
Step 2: Fill bottom layer of aggregate
The bottom layer until the drainpipe must be filled with 75mm blue metal. Then add a further two inches of 20mm metal. Ensure these are thoroughly washed in water multiple times. This ensures that there is sufficient space for sediment to settle down and also ensures the drain pipe does not clog.
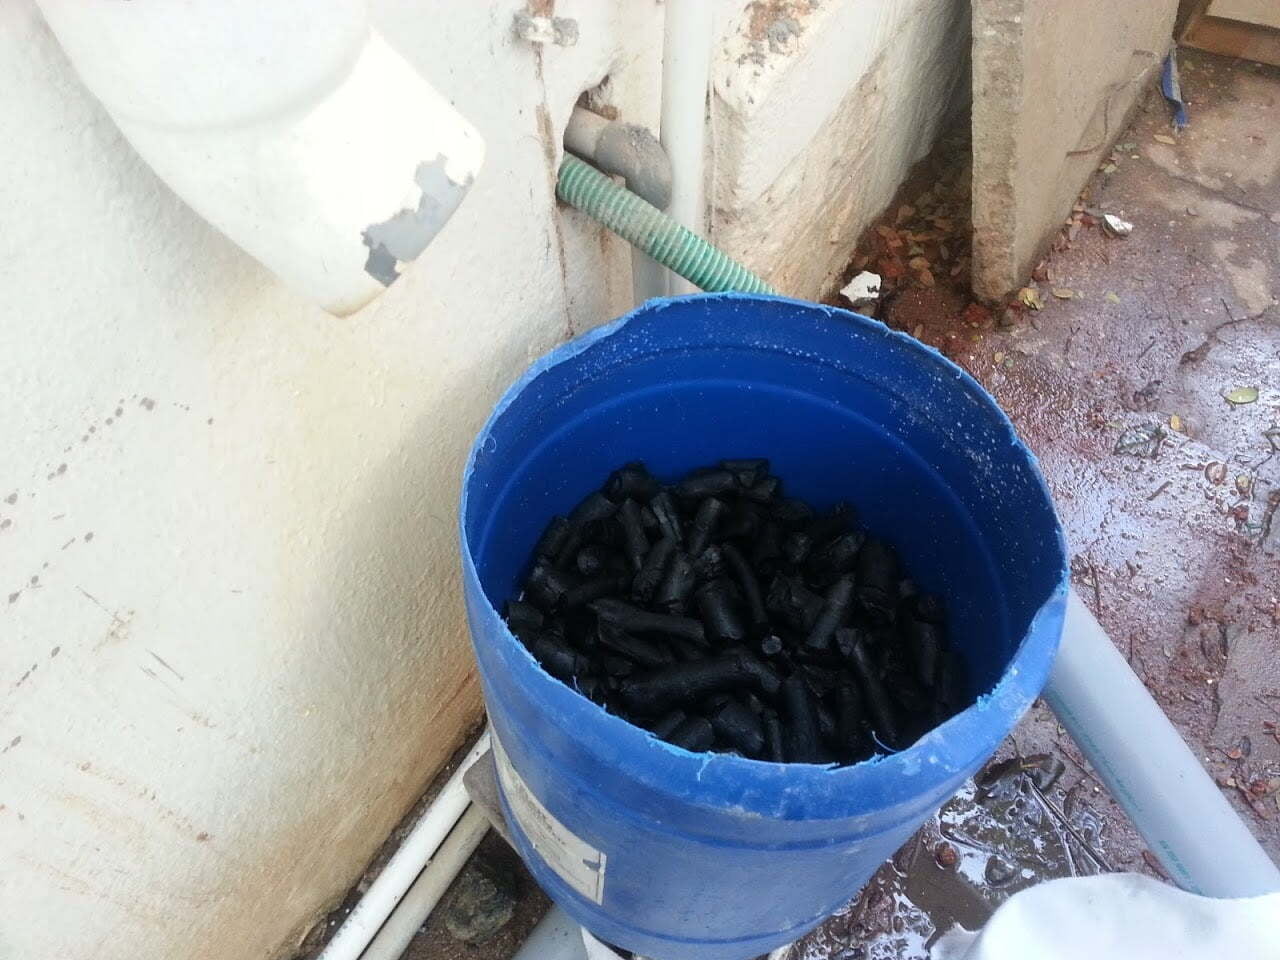
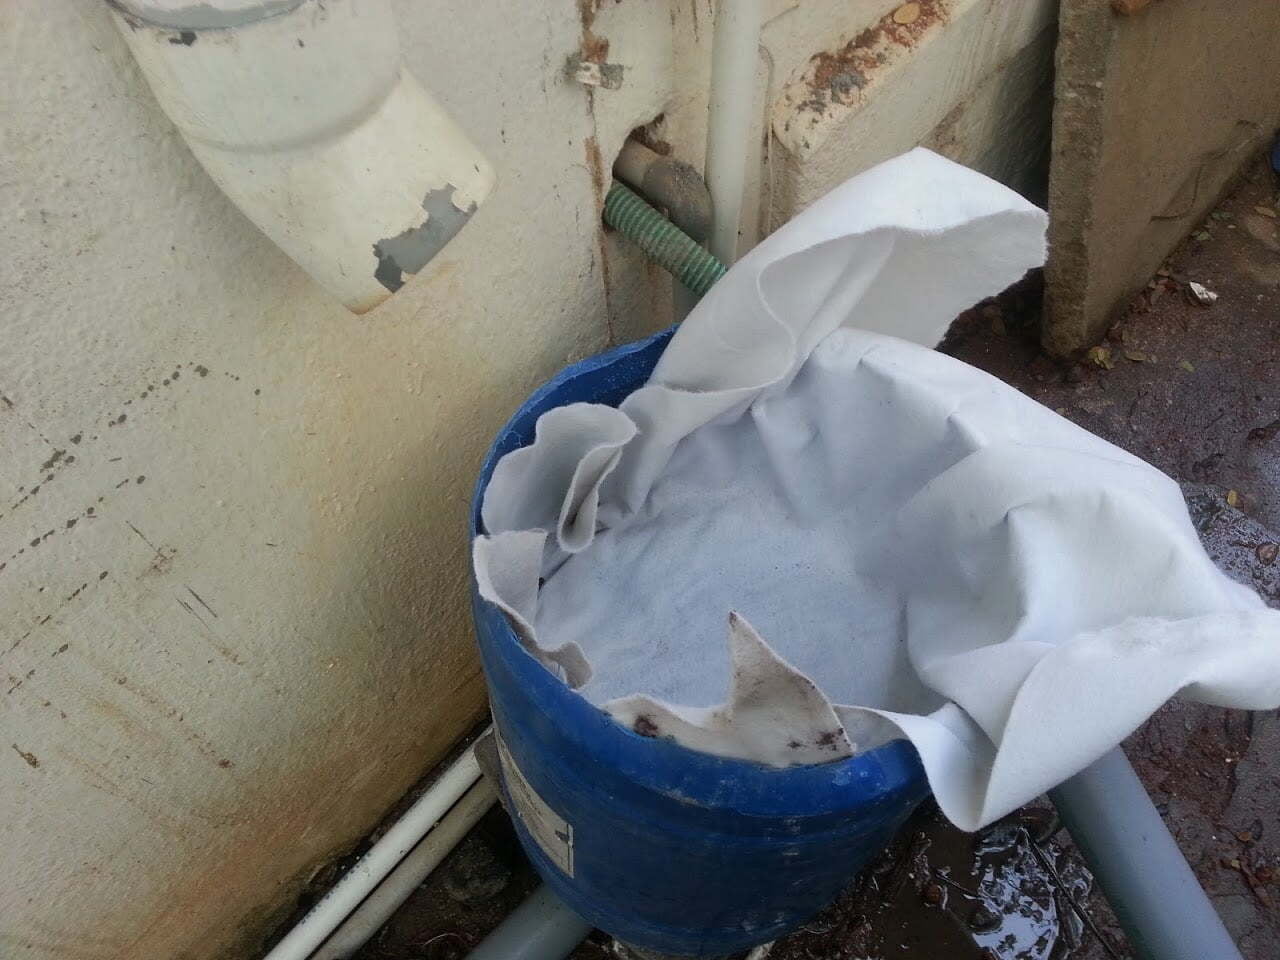
Place a piece of 150-200 GSM non-woven geo-textile cloth above the aggregate that is cut as per the diameter of the barrel. Then add about four-five inches of charcoal on top. Ensure the charcoal has been dipped in water to remove any residue from its surface. Active charcoal are most effective at removing chlorine, sediment, volatile organic compounds (VOCs), taste and odour from water.
The geo-textile is non-biodegradable, hence functions as an effective filter medium, it also ensures the contents of the different layers do not get mixed up during use and can also be separated easily at the time of maintenance.
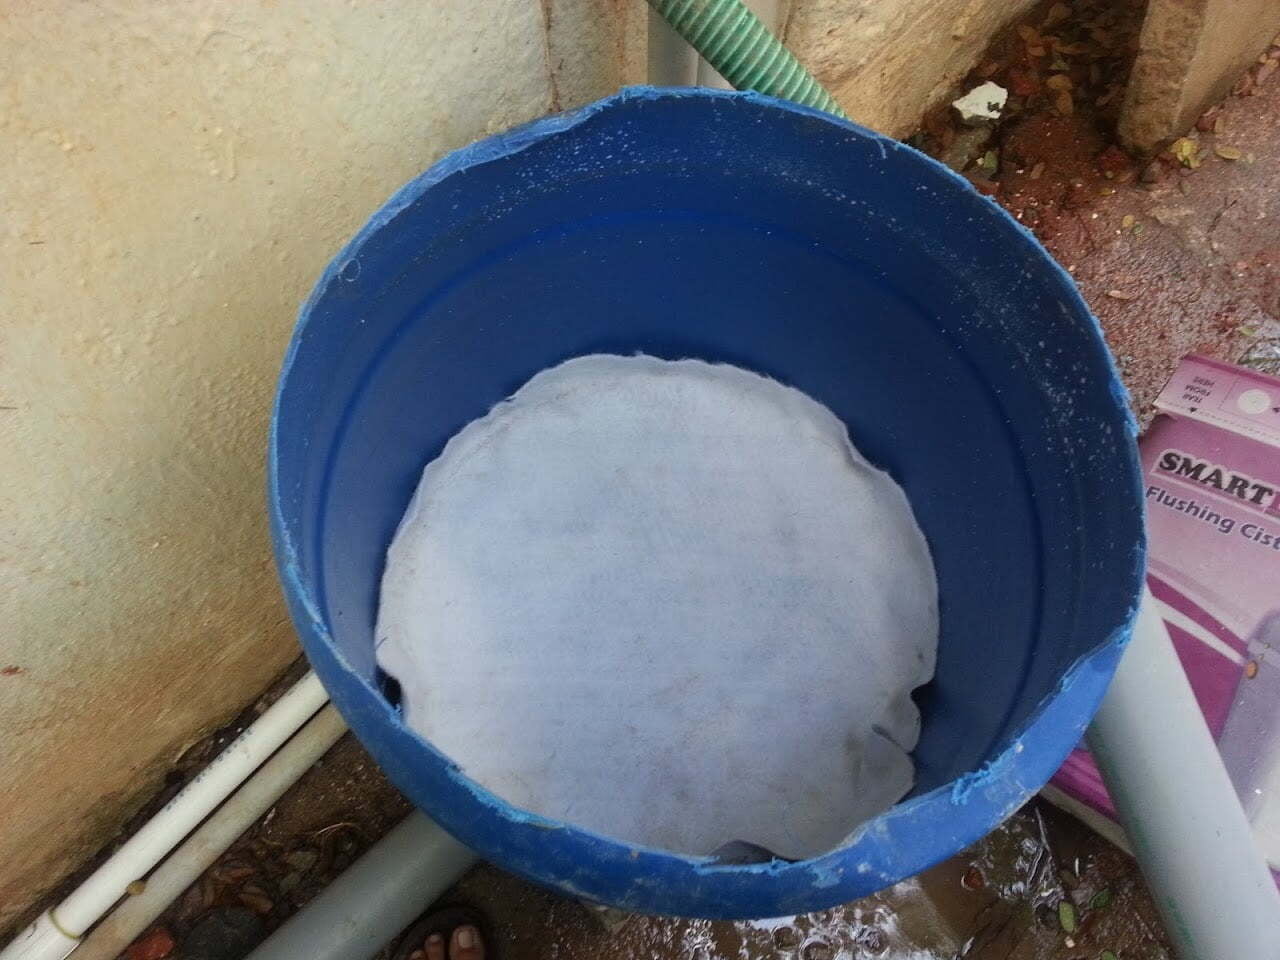
Cover the charcoal with another layer of geo-textile fabric. Then add six to eight inches of clean river sand on top of the geo-textile. The sand layer plays a critical role in the filtration process, hence maximum possible depth must be provided. Cover the sand layer with another geo-textile cloth.
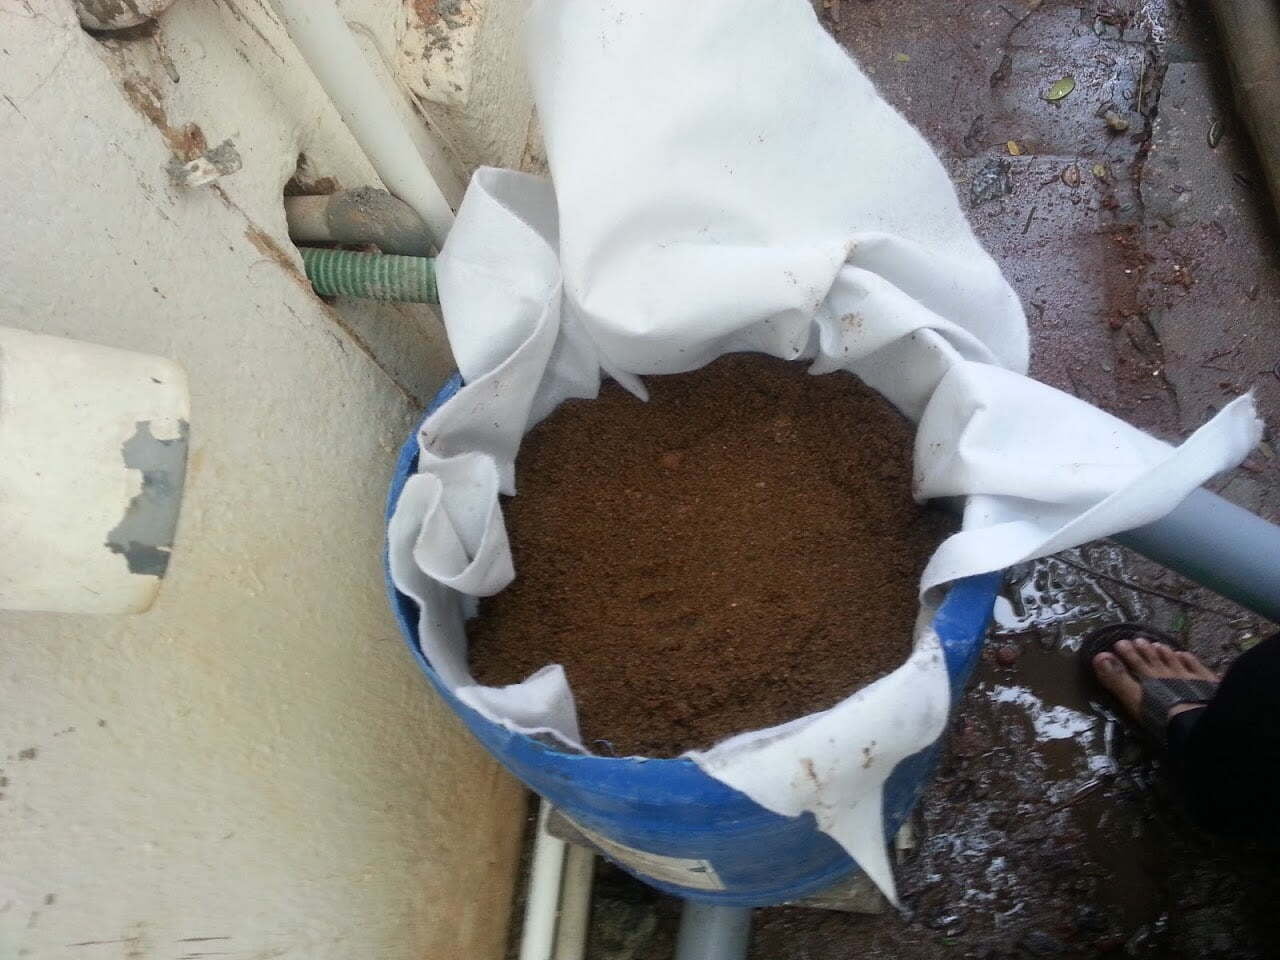
Add about 3 inches of clean 10mm metal chips. Spread it evenly and cover this with another piece of geo-textile. This top layer ensures that the water is sufficiently filtered before it enters the sand layer, thereby ensuring the sand layer is not clogged with sediment. The top most piece of geo-textile will gather the most dirt and must be dusted off whenever required. Place some weight over the top cloth to ensure it does not get blown away in the wind.
- Such a filter will not remove all types of bacteria and chemicals. Further treatment is a must if the output water is used for potable purposes.
- Having a rainwater filter is not a replacement for the requirement of having a clean catchment area. The terrace must be kept clean at all times.
- No rainwater filter is completely maintenance free. An annual clean up of the filter medium must be done to remove any undigested sediment or sludge.
- The filter must be sized as per the catchment area and the expected outflow. The 50 litre filter above is sufficient for no more that 500 SqFt of catchment area during peak rainfall.
- A provision for first flush must be given to avoid the acidic content found in the first rain of the season.
- A provision for overflow from the storage tank must be added.
- If feasible, carry out water tests of the filtered water before using it indoors.
- No amount of reading articles on the internet will replace the trial and error method. So go out there and make one yourself and find out how rewarding rainwater harvesting can be.